How to add BearSDK to your application:
Download sample apps repository.
Bootstrap dependencies:
You can download dependencies using any of your favorite dependency manager like: Carthage or CocoaPods. Example of Cartfile included in sample app.
Carthage:
Add this to your Cartfile file:
github "Alamofire/Alamofire" "4.9.1"
github "ReactiveX/RxSwift" "5.0.1"
binary "https://raw.githubusercontent.com/bear2b/specifications/master/ios/carthage/BearSDK.json" == 2.2.2
carthage bootstrap --platform iOS
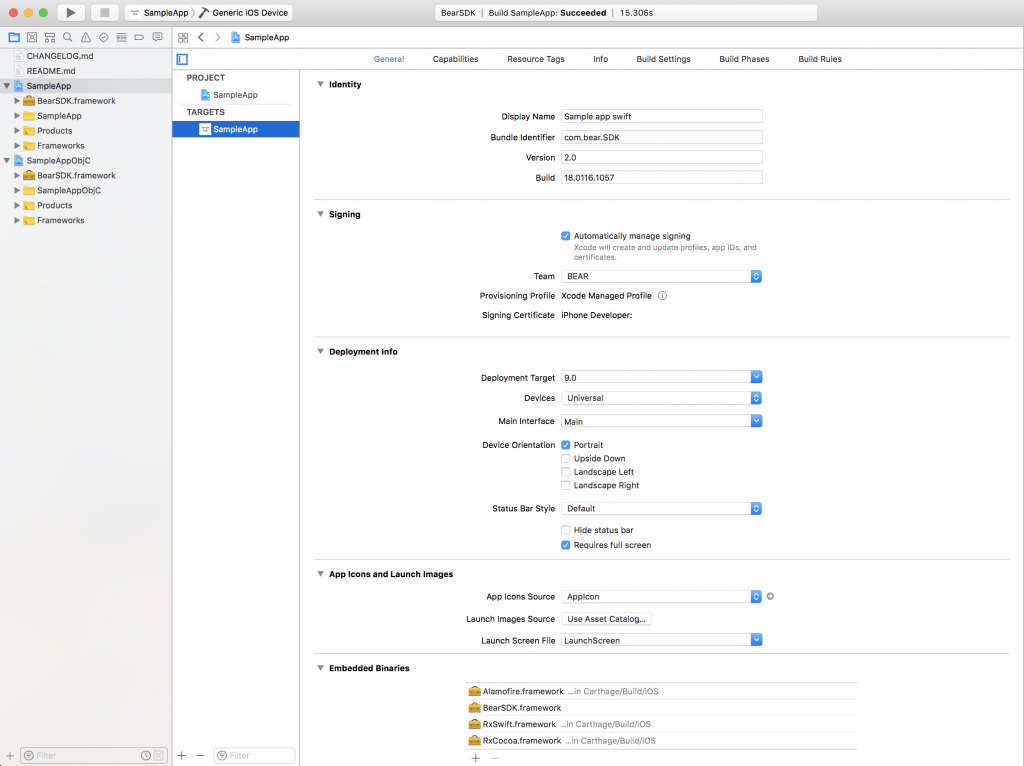
Add BearSDK and other dependencies to your project into Embedded Binaries section.
CocoaPods:
Add this to your Podfile file:
platform :ios, '9.0'
use_frameworks!

target `YourApp` do
    pod 'BearSDK', :podspec => 'https://raw.githubusercontent.com/bear2b/specifications/2.2.2/BearSDK.podspec'
end
pod install
Manual:
- Download zip archive;
- Add BearSDK to your project into Embedded Binaries section;
- Integrate dependencies as you wish – Carthage or CocoaPods or Swift Package Manager.
"Alamofire/Alamofire" == 4.9.1
"ReactiveX/RxSwift" == 5.0.1
Change your Info.plist:
- if you want to use facebook assets with deeplinks to go from your application to facebook app directly – setup this key to your app info.plist.
<key>LSApplicationQueriesSchemes</key>
<array>
<string>fb</string>
</array>
- Add camera usage description to describe how app will use camera.
<key>NSCameraUsageDescription</key>
<string>Camera will let you scan pages</string>
- Add locatiion usage description if you want to use gelolalized markers.
<key>NSLocationWhenInUseUsageDescription</key>
<string></string>
- Add photo library usage description if you want to provide ability to save images or screenshots to camera roll.
<key>NSPhotoLibraryUsageDescription</key>
<string>Save images and screenshots</string>
- And add this new key for the same thing for iOS 11.
<key>NSPhotoLibraryAddUsageDescription</key>
<string>Save images and screenshots</string>

